Plastering might seem like a daunting task to many homeowners or DIY enthusiasts. However, with the right tips and techniques from seasoned plastering contractors, the process can become significantly more manageable. This article aims to provide essential plastering tips shared by professional plasterers to help you achieve a smooth and durable finish.
Video Source
Trowels are fundamental tools in plastering, providing the means to apply, spread, and smooth out plaster mix onto walls and ceilings. When choosing trowels, you should consider the type and size based on the specific task at hand. A well-chosen trowel will help ensure even distribution and a smooth finish. High-quality trowels often come with stainless steel blades which resist rust and ensure longevity.
The various uses of trowels include laying down the plaster, smoothing out surfaces, and even cutting complex curves or corners when necessary. The flexibility of trowels allows plastering contractors to work quickly and effectively, maintaining consistency across surfaces. It is crucial to select a trowel that fits comfortably in your hand and suits your plastering style.
Moreover, having a range of trowels can be beneficial, such as margin trowels for small areas and finishing trowels for a final skim. Ensuring your collection includes a variety of shapes and sizes can make the overall plastering process more efficient and yield better results.
A plaster mixer is another indispensable tool, essential for achieving the perfect plaster consistency. The efficiency of a powered mixer surpasses manual mixing by far, ensuring that the components are evenly blended, which reduces air bubbles and inconsistencies. This is critical because a well-mixed plaster is easier to work with, resulting in lasting finishes.
Contractors often recommend using an electric mixer, especially for large quantities as it saves significant time and physical effort. Moreover, it offers control over the blending speed, thus providing uniformly mixed plaster every time. This consistency is vital when dealing with various phases or batches of plastering.
Investing in a good plaster mixer doesn’t just speed up your workflow; it also improves the quality of your plasterwork, lowers material waste, and can save money over time. For DIY enthusiasts aiming for professional-quality results, a reliable mixer is a worthwhile addition to their toolkit.
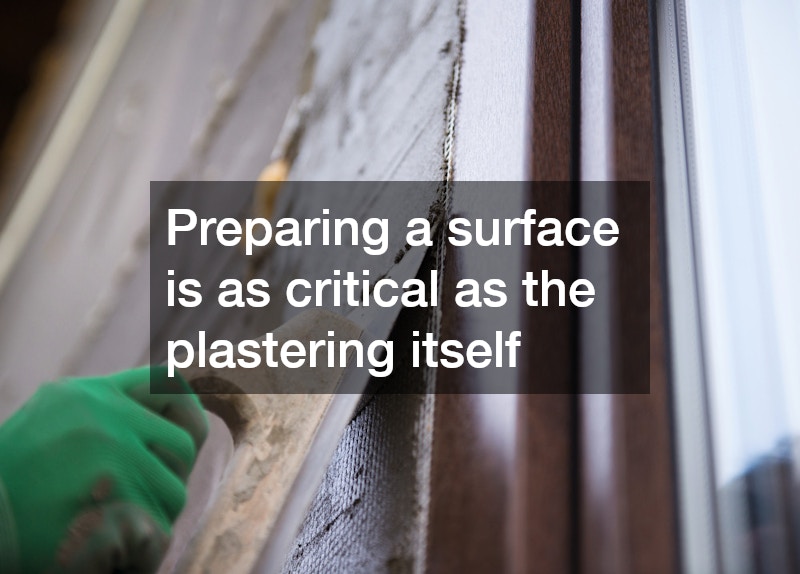
Preparing a surface is as critical as the plastering itself. Cleaning involves removing any old paint, dust, grease, or debris that might hamper the adhesion of new plaster. Failure to start with a clean surface can lead to plaster peeling or poor finish, costing time and additional resources.
Once cleaned, the application of a primer is often necessary to create a bonding layer that enhances adhesion. Primers must be chosen carefully, based on the type of plaster and wall material, to ensure compatibility and long-term durability. Well-primed surfaces absorb plaster evenly, preventing issues like drying too quickly or cracking.
Allow the primer to dry thoroughly, following the manufacturer's instructions for the best results. Contractors often emphasize the importance of this step to ensure that the subsequent layers of plaster adhere properly and last for years.
Before applying new plaster, it’s important to repair any existing holes or cracks. Patchwork should be performed meticulously, filling voids with a base layer of filling compound, which is then leveled with the surface using a suitable tool. Patch repair ensures that the new layer of plaster has a solid foundation to adhere to.
Once repairs are made, assessment and sanding may be necessary to create a uniform surface that facilitates even plaster application. Skipping this step may result in visible imperfections in the finished product, reducing aesthetic appeal and structural integrity.
The key to successful patching is using materials that match the existing surface in terms of properties and compatibility. Doing so ensures cohesive integration where no crack or hole disrupts the smooth appearance of the wall or ceiling.
One of the most common mistakes in plastering is improper mixing of plaster. The consistency of the mix affects everything from application to drying times and final finish. Too much water or too little can cause cracks, poor adhesion, and an uneven surface. Following the manufacturer's guidelines for mixing ratio ensures the right consistency for application.
To prevent these issues, measure ingredients accurately and mix them uniformly. Avoid manual mixing for larger batches as it generates inconsistent textures and incorporates air bubbles, leading to weak spots in the plaster. A plaster mixer is recommended for efficiency and precision.
Understanding the environmental conditions can also influence the mixing process. Factors such as temperature and humidity can affect plaster setting times, demanding adjustments in the mix for optimal results. Practicing with small batches first can help familiarize oneself with these dynamics.
Applying plaster in layers that are too thin may result in poor coverage and the inability to level off imperfections. Thin layers might not adhere well, increasing the risk of peeling and cracking over time. Conversely, applying plaster too thickly can lead to longer drying times and internal stresses that might cause the plaster to crack.
It's advisable to apply plaster in multiple coats, each with a recommended thickness, typically about 2-3mm each. Allow each layer to cure appropriately before adding subsequent layers. This approach leads to a robust and flawless finish, minimizing the likelihood of future repairs.
Plastering professionals often advise against rushing the process. Slow and steady application, guided by a consistent thickness gauge, ensures that each coat works in harmony with the next, resulting in a smooth, durable surface.
These plastering tips, derived from the expertise of professionals, aim to equip both novices and those with some experience with the knowledge necessary to tackle plastering tasks confidently. By understanding the right tools, preparation steps, common pitfalls, and finishing techniques, anyone can improve their plastering skills significantly.